

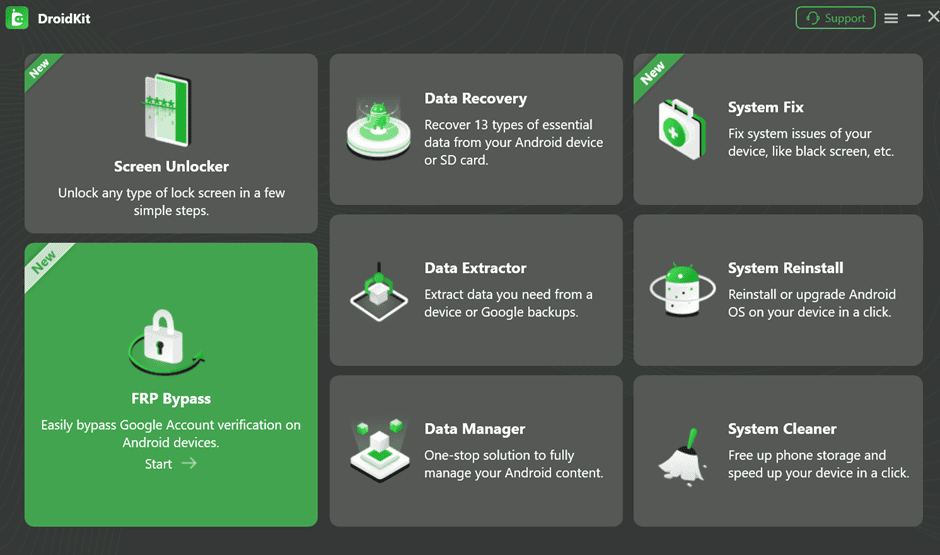
Step 1: Download and Install DroidKit on your computer. Launch DroidKit on your computer and choose “FRP Bypass” mode.
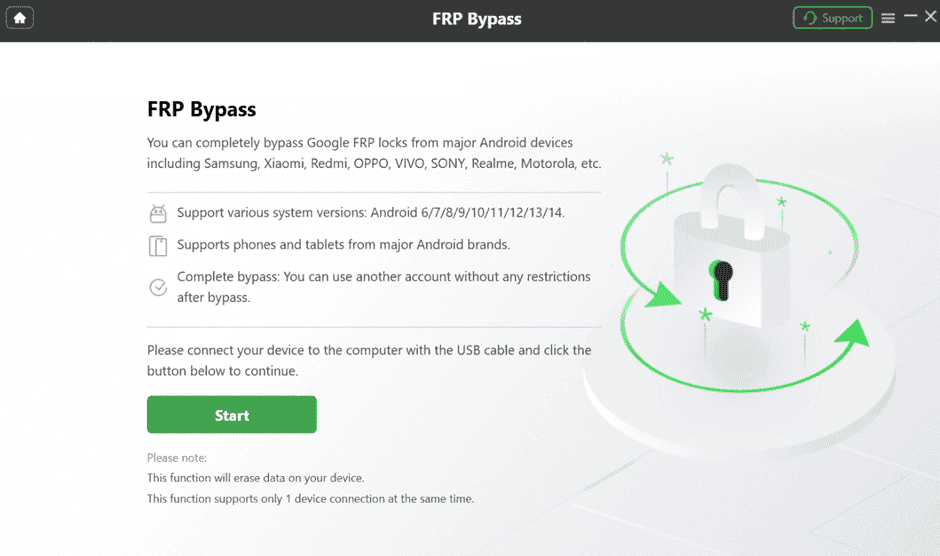
Step 2: After selecting the FRP Bypass, you will see the interface below. Please click the “Start” button.
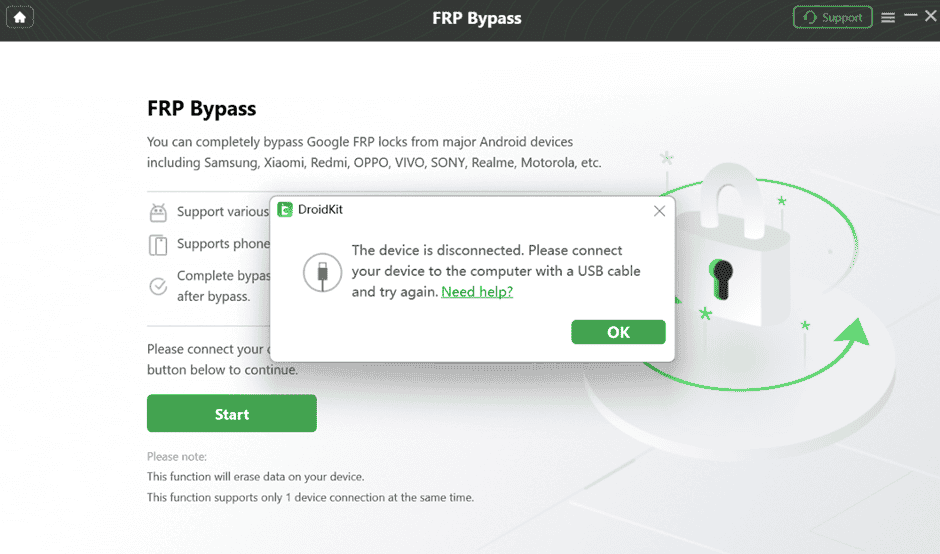
Step 3: Connect your device to the computer using the USB Cable. If the device is detected, it will proceed to the next step. It consists of preparing the Device Configuration File. If the device is not recognized, please try reconnecting it or changing the USB cable and try again. Select the OK icon shown on the application screen.
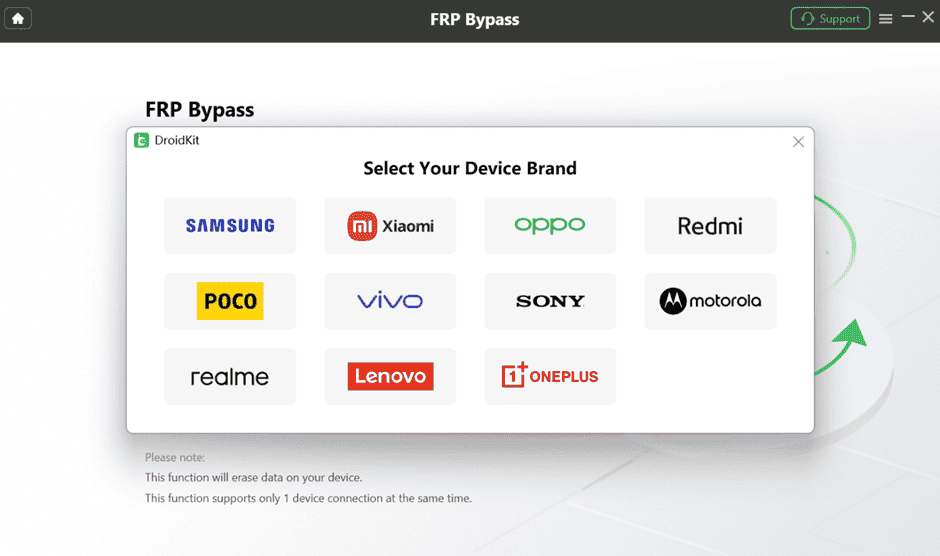
Step 4: Click the Start icon, and a new window will appear. It will ask you to choose the brand of your device. Please select your device brand accordingly.
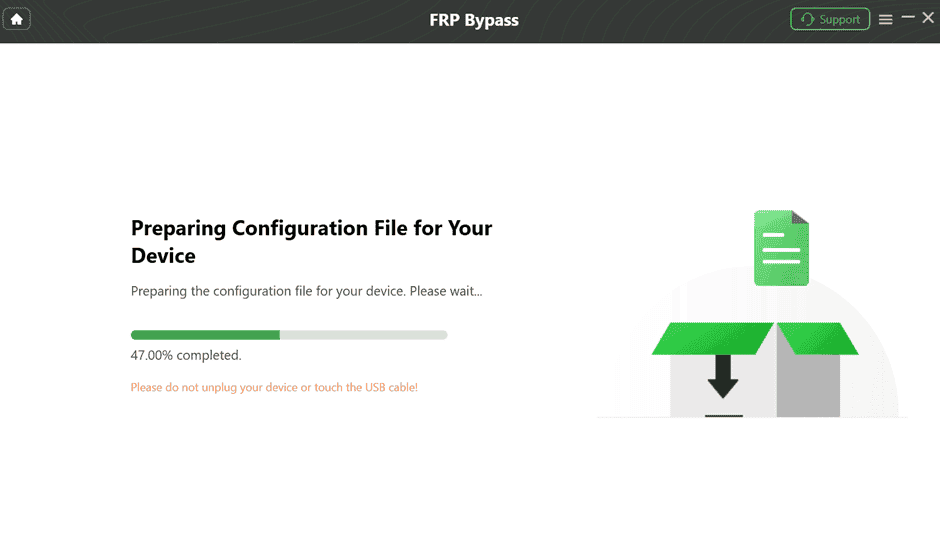
Step 5: After initiating the process, it will start preparing the configuration file for your device. Please keep patient.
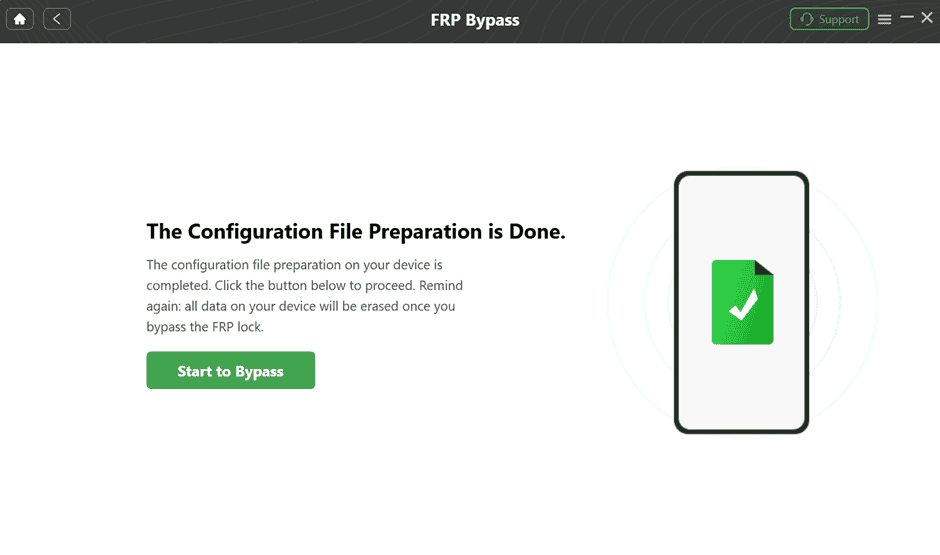
Step 6: The interface below will appear once the preparation process is completed. Click on the “Start to Bypass” button to continue.
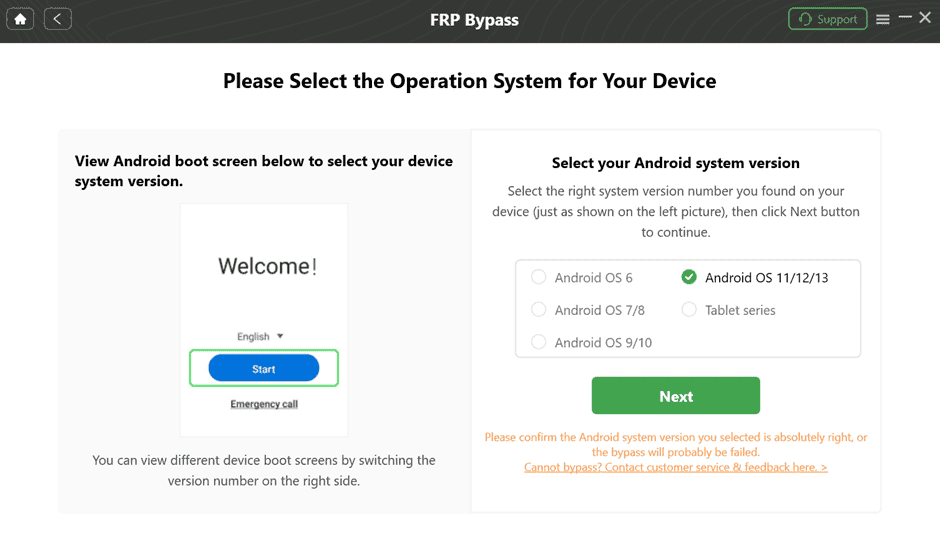
Step 7: The boot screen of your Android device will vary depending on the version. DroidKit provides 5 boot screen views for reference. Choose the right system version and device model according to the screen interface. Click the “Next button”.
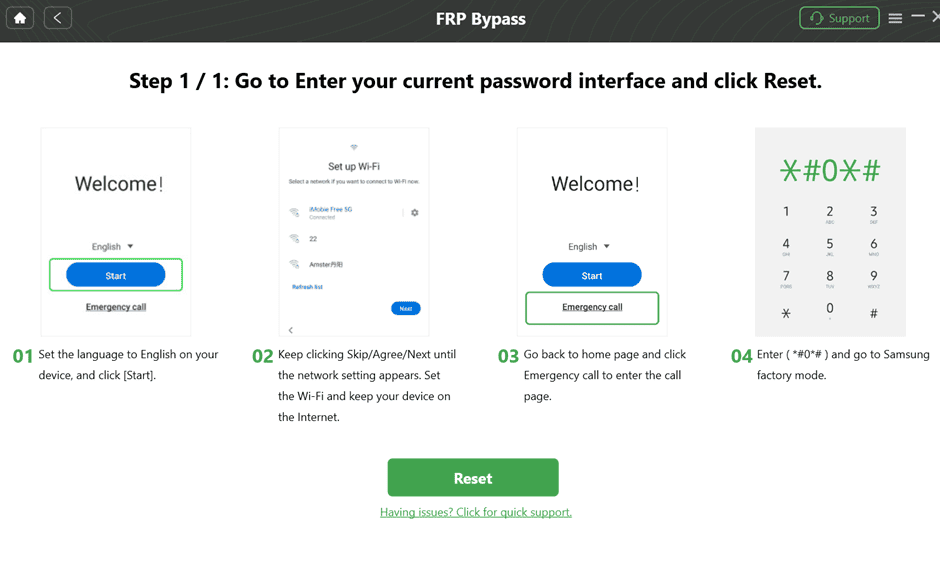
Step 8: Go to enter your current password interface for the device. Follow the instructions on the app to complete the corresponding settings. After entering factory mode, please click “Reset” on the App.
Step 9: After completing the settings on the phone, please click the “Reset” button. It will start to bypass the FRP Lock. This process might take some time.